How to Draw A Windmill. When traveling in the country, there are numerous beautiful sights, from rolling hills to fields full of cows.
Also, check our Frog Coloring Pages.
While many are natural features, we can admire some manufactured structures. However, few are as impressive as a majestic, slowly turning windmill!
These wonderful structures are always beautiful, and learning to draw a windmill is a wonderful method to recreate this stunning view.
If you love those magnificent buildings, this is a perfect tutorial!
How to Draw A Windmill
Step 1
It wouldn’t look like a windmill without some leaves, and that’s what we’re going to start with when we start this how-to guide on how to draw a windmill.
Each windmill blade has a thicker end that narrows slightly as it moves toward the center. They will be drawn fairly rectangular, as shown in the reference image.
Within each blade’s outline, straight lines are drawn along the outline’s inner outline. There will also be small lattice motifs on the insides.
Finally, finish with a few straight lines extending inward from the bottom of each blade. These will be connected to the central rotor we will draw in the next step of the guide.
Step 2
In this second step in drawing your windmill, you’ll add the center rotor and the rest of the blades.
The rotor should be easy to add! All you have to do for the rotor is draw a small circle to which the bars on the underside of the first two blades will attach.
Then draw a smaller circle inside this rotor outline to complete it.
Finally, add two more blades to this rotor. These are at different angles but look the same as the first two you drew. Then it’s time for step 3!
Step 3
Now you can start drawing the body of this structure in this third step of our guide on drawing a windmill.
The structure’s body will look bizarre and vintage, and you can start drawing a conical roof.
This will have curved stripes for the flanks, so you can add rows of small rounded lines across its surface to give it a tiled look.
The sides of the windmill are straightforward, and you can add some small rectangular shapes around the inside of the outline to give it a brick look.
You can then continue to add to the design in the next steps of the guide!
Step 4
Before we get into the final details of this windmill design, let’s add a few more important features.
In this step, we will focus on a window, a door for the windmill, and the ground on which it stands. The window is small and rounded, with a small rectangular sill below.
The entry will look like a much bigger understanding of the window as it will have a matching round shape.
So finally, we will draw some bushes on the ground next to it, which can be drawn with small irregular lines.
Once those details are settled, it’s time for the final details we discussed earlier, so let’s move on!
Step 5
You have completed all the important details and outlines in this guide to drawing a windmill, and in this one, we will finish some small final details.
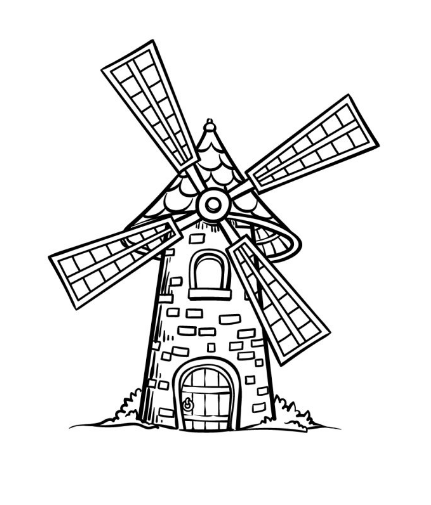
First, we’ll add some curved vertical and horizontal lines to the bottom of the cone roof for some extra texture.
Next, we’ll add some straight vertical lines down the sides of the windmill’s body, as they’ll add more dimension to the image.
Finish this step by drawing some wood details on the front door; then, you can move on to the last step. You can add more details beforehand. These could contain a background landscape or some weather details.
How are you going to end this?
Step 6
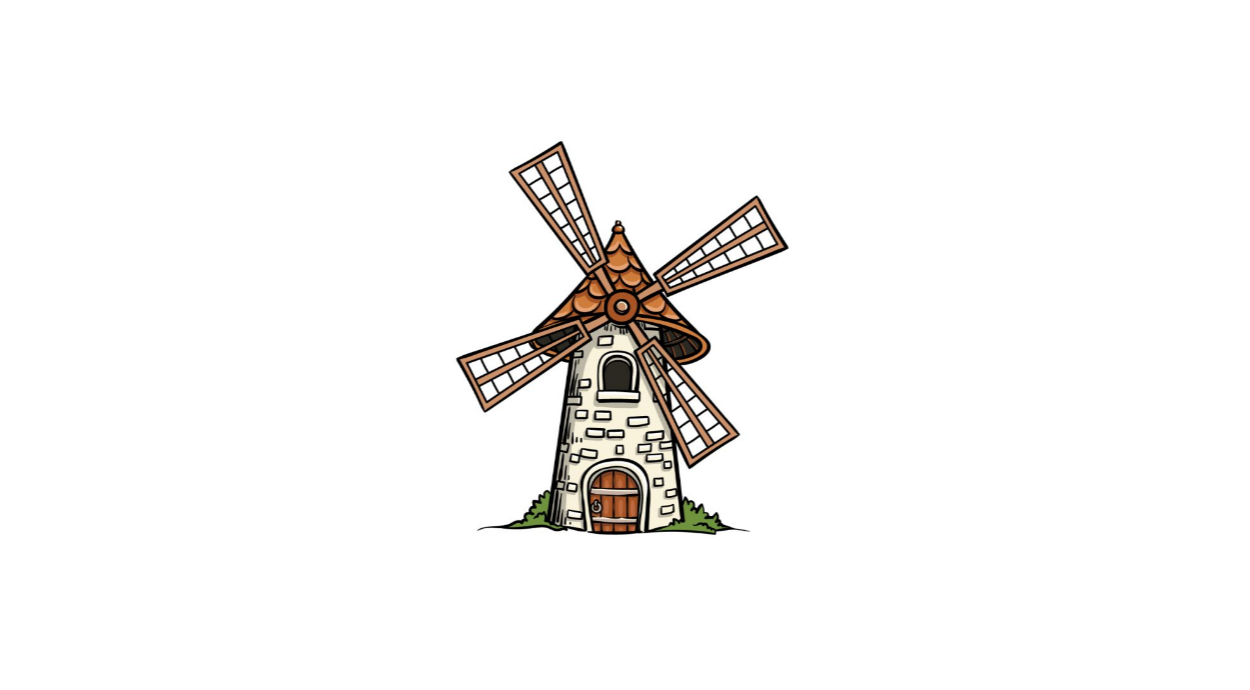
You are now ready to complete this windmill drawing with some colors! In our sample image, we complemented the painterly and relaxing feel of the image by using some soft, light colors.
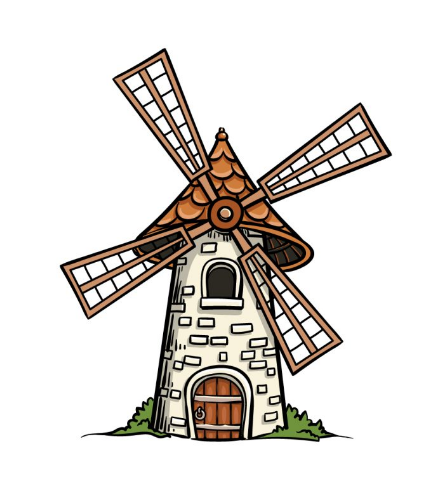
This includes shades of brown for the smaller elements and beige for the windmill body. A few shades of green for the bushes next to it also help add some lighter pops of color.
You could also choose these colors, but feel free to choose any other color you like!
Your Windmill Drawing is Finished!